I have been creating posts about the raspberry pi now for the last couple of years. During that time I have gotten a RPI B+ and two RPI2. Using these RPI’s and my gaming rig I have been able to create a nice little lab that offers a number of functions.
Here’s a little list of what I have my RPI’s doing:
- RPI B+ – Right now, I have this just running PiVPN. Here is a link to a previous post I did on this: here.
- RPI2 – I have one of them running PiHole and a CUPS server for remote printing.
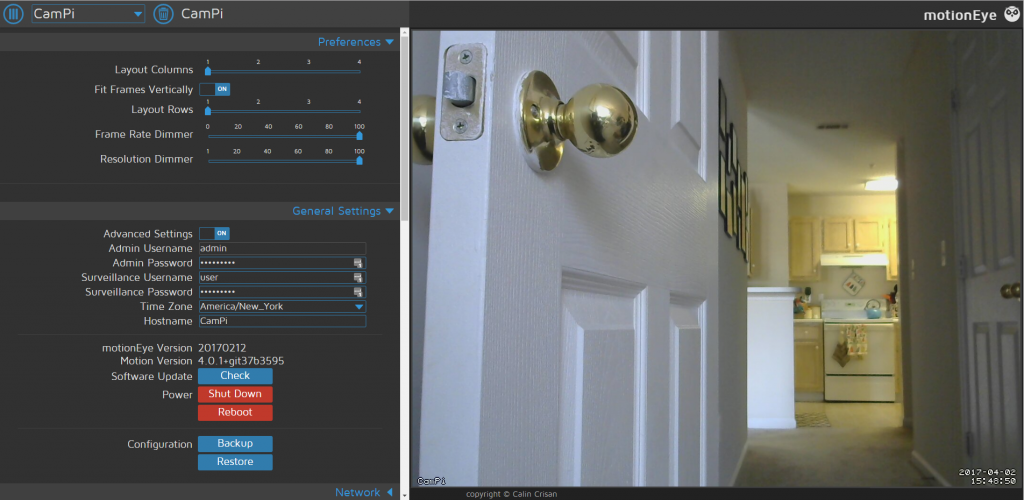
- RPI2 – I have the other one running MotionEye. Click this link to go the installation instructions: here. MotionEye has a lot of great features and options. I love how I can access the device over SMB and how everything can be controlled over an HTTP interface. It is so much easier doing that compared to having to edit config files. It’s also really awesome being able to load up my videos to a folder on my Google Drive. Below is a screenshot of what some of the interface looks like.
I wrote a previous post back in 2015 on how to use motion and iSpy (Windows client) to setup a basic wifi camera system. Some of the guide may still be useful but MotionEye really streamlines the process and makes iSpy or any other client really unnecessary. Either way here is a link: here.
I also have my Windows 10 Machine running a few really good services.
- I run Plex Server on it to store and stream my videos.
- Also, running cloud services like Google Drive and Dropbox.
- I use it as a file server with FTP over TLS and SMB services.
- RDP is setup to use over the web though I have to change the IP occasionally to deal with dynamic.
All of these services are generally pretty easy to setup. Most of the utilities for the RPI have gotten as simple as writing an image to an SD card or just running a single command over SSH. I have been able to create a small lab that allows me to access data relatively securely from almost any location.

I am going to try to add further resources and explanations to some of these items to help others get a lab like this started. Some of these projects, like the CUPS printer, I have done years ago so I need to retrace my steps on those ones.
Note (for those trying to upgrade Wheezy to Jessie on Raspberry Pi):
I had a very difficult time trying to figure out how to upgrade my two Wheezy Pi’s to Jessie. I followed a lot of the instructions online but finally found out that I needed to change my repositories over to the Jessie repositories before trying to upgrade. I never had to do this with Ubuntu or any other distro I tried upgrading. I feel a little embarrassed about how long it took me to figure this out so I am sticking it here.
This is the guide that eventually got me to the solution: here.
And here is a screenshot of my sources list after being changed to the Jessie repositories:

My big issue here is not changing each of the lines from wheezy to jessie. That resolved the issue and allowed me to use dist-upgrade.
Recommendations:
I do recommend that if you are able to get the system working the way you would like it to work, then shutdown the system. Remove the SD card and connect it to a Windows/Linux machine and create an image of the SD card. You can do this on Windows using a tool such as FTK Imager. Using the DD command or Disks (GUI tootl) to create an image file. That way if your SD card dies you can write your running system to a new SD card without having to modify config files, etc.
Note – 2: This page is still a work in progress but I plan on adding more links and content as I have time. I hope this page can be a useful guide to resources in setting up other mini home labs like mine.